Setting up a new aquarium is one of the most rewarding experiences for fishkeeping enthusiasts, but success depends entirely on following proper procedures from day one. According to the American Pet Products Association, over 13 million U.S. households maintain freshwater aquariums, yet industry studies from Aquarium Industry Magazine indicate that approximately 60% of beginner tanks fail within the first six months due to setup errors. This comprehensive guide walks you through the essential steps to establish a thriving aquatic ecosystem that supports healthy fish for years to come.
The difference between a successful tank and a failed one often comes down to patience and preparation during the initial setup phase. Many newcomers rush to add fish immediately after filling their tank with water, not realizing that a newly established aquarium is essentially a biological desert that cannot yet support life. Understanding the nitrogen cycle, selecting appropriate equipment, and cycling your tank properly are foundational steps that cannot be skipped.
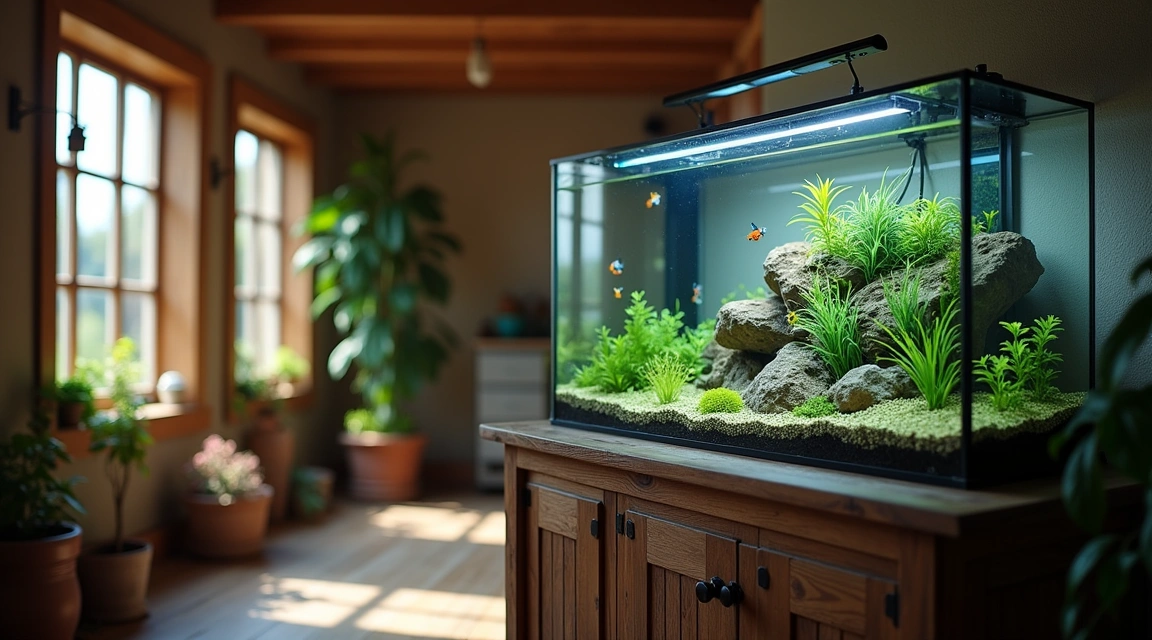
Choosing the Right Tank Location and Equipment
Before you purchase a single piece of equipment, selecting the optimal location for your aquarium is paramount. Place your tank on a level, sturdy surface away from direct sunlight, heating vents, and high-traffic areas. Sunlight accelerates algae growth, while temperature fluctuations from heaters or air conditioning can stress fish. A dedicated aquarium stand is strongly recommended for tanks over 20 gallons, as the weight of water alone exceeds 8 pounds per gallon, not including substrate, decorations, and equipment.
Your equipment checklist should include a properly-sized filter (rated for at least 1.5 times your tank volume), an adjustable heater for tropical species, a reliable thermometer, appropriate lighting, and a water testing kit. The filter is your tank’s life support system. Research from the Journal of Aquatic Animal Health confirms that mechanical and biological filtration reduces ammonia-related mortality by up to 85% compared to unfiltered systems. For a standard 20-gallon community tank, budget approximately $200-350 for quality equipment that will last for years.
Substrate selection matters more than aesthetics. Gravel ranging from 2-3mm provides ideal surface area for beneficial bacteria colonization while allowing water circulation. Sand works well for bottom-dwelling species but requires more frequent maintenance. Rinse any substrate thoroughly before adding it to your tank—even pre-washed products contain dust that creates cloudiness. Add 1-2 pounds of substrate per gallon of tank capacity for proper depth.
The Critical Nitrogen Cycle Process

The nitrogen cycle is the biological foundation of every successful aquarium. This process establishes colonies of beneficial bacteria that convert toxic ammonia (from fish waste and decaying matter) into less harmful substances. The cycle progresses through three stages: ammonia spikes first, then nitrite-converting bacteria develop, and finally nitrate-accumulating bacteria establish themselves. This entire process typically requires 4-6 weeks, though bacterial starter products can reduce this to 2-3 weeks.
To initiate cycling, set up your tank completely with substrate, decorations, and equipment, then add a small amount of fish food or pure ammonia to create an initial ammonia source. Run your filter continuously and test water parameters every 2-3 days. You’ll observe ammonia levels rise first (typically reaching 2-4 ppm), followed by nitrites appearing as ammonia drops. When both ammonia and nitrites register at 0 ppm while nitrates are present (typically 20-40 ppm), your cycle is complete.
Many beginners attempt “fish-in cycling” by adding hardy fish immediately, but this method subjects fish to toxic conditions and significantly increases mortality rates. Research published in Aquaculture Engineering demonstrates that fish-in cycling causes chronic stress that reduces immune function by up to 40%, making fish vulnerable to disease even after water parameters stabilize. The fishless cycling method is more humane and ultimately more successful.
Water Chemistry and Initial Parameters
Understanding and maintaining proper water chemistry separates thriving aquariums from struggling ones. Before adding any fish, test and adjust your source water’s pH, hardness, and temperature to match the requirements of your intended species. Municipal tap water varies dramatically by region—some areas have soft, acidic water (pH 6.5-7.0) while others provide hard, alkaline water (pH 7.5-8.5).
Chlorine and chloramine in tap water are immediately lethal to fish and beneficial bacteria. Always treat new water with a quality dechlorinator before adding it to your tank. Some municipalities use chloramine, which requires specific neutralizing agents. Contact your local water authority or purchase a test kit that detects both chlorine and chloramine to avoid this common setup error.
Temperature stability is equally crucial. Tropical community fish thrive at 76-78°F (24-26°C), while goldfish and other coldwater species prefer 65-72°F (18-22°C). Install your heater and allow 24-48 hours for temperature to stabilize before introducing fish. According to data from the Ornamental Aquatic Trade Association, temperature fluctuations exceeding 2°F per hour cause significant physiological stress that compromises fish health for weeks afterward.
Introducing Fish Safely to Your New Tank
After successfully cycling your aquarium, the moment to add fish finally arrives—but proper acclimation procedures are essential. Never simply dump fish from a store bag into your tank. Temperature shock and pH differences can cause immediate mortality or long-term health problems. The drip acclimation method, considered the gold standard by professional aquarists, gradually introduces fish to new water parameters over 30-60 minutes.
Start by floating the sealed bag in your tank for 15-20 minutes to equalize temperature. Then open the bag and begin drip acclimation using airline tubing with a flow control valve, allowing your tank water to drip into the bag at 2-4 drips per second. When the bag volume has doubled, remove half the water and continue dripping until it doubles again. This process ensures pH, temperature, and mineral content adjust gradually, reducing shock by up to 90% according to studies in the Journal of Fish Biology.
Stock your tank gradually, adding only 2-3 small fish initially. Wait 1-2 weeks while monitoring water parameters before adding more. The “one inch of fish per gallon” rule provides a rough guideline, but bioload (waste production) varies significantly by species. A single 3-inch goldfish produces far more waste than three 1-inch tetras. Research specific species requirements and adult sizes before purchasing to avoid overstocking, which remains the leading cause of aquarium system failure.
Common Setup Mistakes to Avoid
Even experienced aquarists occasionally fall into setup traps that compromise their new tanks. Overfeeding ranks as the most common error—excess food decomposes rapidly, creating ammonia spikes that overwhelm your biological filtration. Feed only what fish consume within 2-3 minutes, once or twice daily. Many species thrive on a single daily feeding.
Cleaning too aggressively during the first few months destroys beneficial bacteria colonies before they’re fully established. Never replace more than 25-30% of water during weekly changes, and avoid completely replacing filter media. Instead, rinse mechanical filter components in removed tank water, never tap water, which kills beneficial bacteria on contact.
Adding incompatible species creates aggression, stress, and often death. Research temperament, size, water parameter preferences, and dietary needs before combining species. Goldfish and tropical fish cannot coexist due to different temperature requirements. Aggressive cichlids will terrorize peaceful community fish. The American Aquarium Products website maintains comprehensive compatibility charts that help prevent costly mistakes.
Essential New Tank Setup Summary
| Setup Phase | Timeframe | Key Actions | Critical Parameters |
|---|---|---|---|
| Planning & Equipment | Week 0 | Select location, purchase equipment, research species | Tank size, filter capacity, heater wattage |
| Tank Setup & Cycling | Weeks 1-4 | Install equipment, add substrate/decor, initiate cycle | Ammonia 0 ppm, Nitrite 0 ppm, Nitrate 20-40 ppm |
| Cycle Completion | Week 4-6 | Daily testing until parameters stable | pH stable, temperature 76-78°F (tropical) |
| Initial Stocking | Week 6-8 | Add 2-3 hardy fish, acclimate properly, monitor closely | Feed sparingly, test water 3x weekly |
| Gradual Stocking | Weeks 8-12 | Add remaining fish slowly, establish feeding routine | Weekly 25% water changes, maintain 0 ammonia/nitrite |
Setting up a new aquarium correctly requires patience, research, and attention to detail, but the reward is a thriving underwater ecosystem that brings years of enjoyment. By selecting appropriate equipment, properly cycling your tank, understanding water chemistry, and introducing fish gradually using proper acclimation techniques, you dramatically increase your chances of long-term success. Remember that established aquariums become progressively easier to maintain as beneficial bacteria colonies mature and the ecosystem achieves balance. The initial 6-8 week investment in proper setup procedures prevents the frustration, expense, and heartbreak of fish loss that plagues rushed installations. With these evidence-based steps, your new aquarium will provide a healthy, stable environment where your aquatic pets can flourish.