
Keeping aquarium water clean and balanced is essential for the health of your fish. Many beginners feel overwhelmed by the different factors that affect water quality, from pH levels to ammonia concentration. This guide provides a practical checklist you can follow step by step to maintain safe water conditions and make confident decisions when problems arise. Whether you are setting up your first tank or troubleshooting an ongoing issue, these straightforward procedures will help you protect your aquatic pets.
Water quality maintenance is not just about testing numbers—it involves understanding what those numbers mean and knowing when to act. This checklist approach breaks down complex water chemistry into manageable daily, weekly, and monthly tasks. By following a routine and keeping simple records, you can catch problems early and avoid emergency situations that stress both you and your fish.
Understanding Core Water Quality Parameters
Before you begin any maintenance routine, you need to understand the five core parameters that define safe aquarium water: temperature, pH, ammonia, nitrite, and nitrate. Each one plays a specific role in your fish’s environment, and each requires different attention.
Temperature affects how quickly fish metabolize food and how much oxygen dissolves in water. Most tropical fish prefer stable temperatures, and sudden changes can weaken their immune systems. Use a reliable glass or digital thermometer placed away from heaters or direct sunlight to get accurate readings.
pH measures how acidic or alkaline your water is. Different fish species evolved in different natural habitats, so their pH preferences vary. Research your specific fish species to learn their ideal range, and remember that stable pH is more important than perfect pH. Rapid pH swings cause more harm than a slightly off-target but steady reading.
Ammonia is highly toxic even in small amounts. It comes from fish waste, uneaten food, and decaying plants. In a properly cycled tank, beneficial bacteria convert ammonia into nitrite, then into the less harmful nitrate. New tanks without established bacteria colonies are especially vulnerable to ammonia spikes.
Nitrite is also toxic and appears during the second stage of the nitrogen cycle. Like ammonia, it should read zero in a healthy, cycled aquarium. If you detect nitrite, it means your biological filtration is not yet fully established or has been disrupted.
Nitrate is the end product of the nitrogen cycle and is much less toxic than ammonia or nitrite. However, it still accumulates over time and can cause long-term health problems and algae blooms if allowed to rise too high. Regular partial water changes are the primary way to control nitrate levels.
For more foundational information about maintaining stable aquarium conditions, visit our Water Quality section.
Step-by-Step Daily and Weekly Maintenance Routine
Step 1: Perform a Daily Visual Inspection
Each morning, spend two minutes observing your tank. Look for cloudy water, unusual odors, or fish behaving abnormally. Check that your heater and filter are running properly. Count your fish to make sure none are missing or hiding due to illness.
Caution: Do not skip this step even when everything seems fine. Many serious problems begin with subtle changes that are easy to miss if you only glance at the tank in passing.
Step 2: Test Ammonia and Nitrite Weekly in Established Tanks
Use a liquid test kit rather than test strips, as liquid kits provide more accurate results. Follow the instructions exactly, including waiting times and shaking procedures. Test for ammonia and nitrite once per week in tanks that have been running for more than two months.
Caution: If either ammonia or nitrite shows any reading above zero, do not wait until your next scheduled test. Perform an immediate partial water change and test again the next day.
Step 3: Test pH and Nitrate Weekly
Record your pH in a simple notebook or spreadsheet. Tracking trends over weeks helps you spot slow drifts that might require adjustment. Test nitrate at the same time, ideally before your weekly water change so you know how much has accumulated.
Caution: Do not adjust pH with chemicals unless absolutely necessary. Most fish adapt well to stable pH outside their ideal range, but they cannot tolerate sudden pH swings caused by chemical adjustments.
Step 4: Perform a Partial Water Change
Change between one-quarter and one-third of your tank water every week. Use a gravel vacuum to remove waste from the substrate while draining. Match the temperature of the new water to your tank temperature, and treat tap water with dechlorinator before adding it.
Caution: Never change more than half the water at once unless facing an emergency. Large water changes remove beneficial bacteria from the water column and can shock your fish with sudden parameter shifts.
Step 5: Clean Mechanical Filter Media
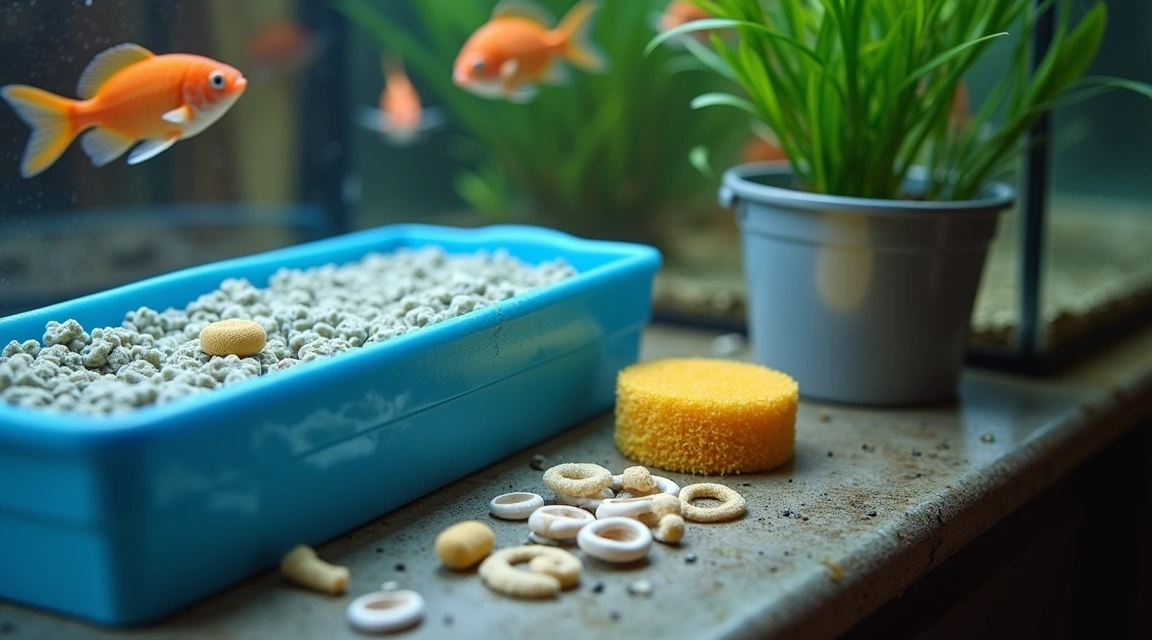
Rinse sponges and filter pads in old tank water you have removed during the water change. Tap water contains chlorine that kills beneficial bacteria, so always use dechlorinated or old tank water for this step. Squeeze the sponge gently until the water runs clear.
Caution: Do not replace all filter media at once. If one piece is falling apart, replace only that piece and leave the others in place to maintain your bacterial colony.
Step 6: Check and Record Temperature
Verify that your heater is maintaining the correct temperature. Write down the reading in your maintenance log. If you notice the temperature drifting up or down over several days, your heater may be failing and should be replaced soon.
Caution: Heaters do not last forever. Even if your heater still turns on, it may no longer regulate temperature accurately. Replace heaters every two to three years as preventive maintenance.
Common Mistakes and How to Avoid Them

One of the most frequent mistakes beginners make is overfeeding. Excess food decays and produces ammonia, overwhelming your biological filtration. Feed only what your fish can consume in two to three minutes, and skip one day per week entirely. If you see uneaten food on the bottom after feeding, you are feeding too much.
Another common error is neglecting water changes. Some hobbyists believe that topping off evaporated water is the same as changing water, but it is not. Evaporation leaves dissolved waste behind, so nitrate and other pollutants continue to accumulate. Only physically removing old water and replacing it with fresh, treated water resets these levels.
Many people also over-clean their tanks, scrubbing decorations and rinsing filter media under hot tap water. This kills beneficial bacteria and can cause your tank to re-cycle, producing dangerous ammonia spikes. Clean only when necessary, and always use tank water or dechlorinated water for rinsing biological media.
Relying on test strips instead of liquid test kits is another pitfall. Test strips are convenient but often less accurate, especially for ammonia. Invest in a quality liquid test kit that covers ammonia, nitrite, nitrate, and pH. The small additional cost is worth the reliability.
Finally, many aquarists ignore small changes in fish behavior. Gasping at the surface, clamped fins, loss of appetite, or hiding are early warning signs of water quality problems. Do not wait for these symptoms to worsen. Test your water immediately and take corrective action.
Decision Checklist for Emergency Situations
When you detect a water quality problem, follow this decision tree to respond appropriately. First, test all parameters to understand the full picture. One problem often causes others, so do not assume you know the issue without testing.
If ammonia or nitrite is present, perform an immediate water change of up to fifty percent. Use a dechlorinator that also detoxifies ammonia temporarily. Stop feeding for at least twenty-four hours to reduce waste production. Test again the following day to confirm levels are dropping.
If nitrate is elevated but ammonia and nitrite are zero, increase the frequency of water changes to twice per week until nitrate falls to a safer range. Check that you are not overfeeding and that your filter is clean and functioning.
If pH has suddenly shifted, do not try to correct it rapidly with chemicals. Perform a smaller water change and allow the tank to stabilize naturally. Investigate what caused the shift—decaying organic matter, improper substrate, or contaminated decorations can all affect pH.
If temperature is outside the safe range, adjust your heater setting gradually. Do not change the temperature by more than two degrees per hour. Rapid temperature changes stress fish as much as incorrect temperatures do.
When fish show signs of stress but all test results appear normal, consider factors beyond basic chemistry. Oxygen levels, water flow, aggression from tank mates, and even external stressors like vibration or bright lights can affect fish health. Observe the entire environment, not just the test results.
Long-Term Monitoring and Record Keeping
Maintaining a simple log transforms water quality management from guesswork into a predictable routine. Record the date, temperature, pH, ammonia, nitrite, and nitrate readings each time you test. Note any water changes, filter maintenance, or fish additions in the same log.
After several weeks, you will see patterns. You might notice that nitrate always spikes after you feed frozen food, or that pH drifts downward between water changes. These patterns help you fine-tune your routine and catch developing problems before they become emergencies.
Use a notebook, spreadsheet, or aquarium app—whatever you will actually maintain consistently. The format matters less than the habit. Even minimal records are far better than relying on memory, especially if you manage multiple tanks.
Review your log monthly to identify trends. Are your parameters stable, or do they fluctuate unpredictably? Stable parameters indicate a well-balanced system. Erratic readings suggest an underlying issue that needs investigation, such as inconsistent feeding, failing equipment, or inadequate filtration for your stocking level.
Keep equipment receipts and note installation dates in your log. Filters, heaters, and air pumps all have limited lifespans. Knowing when you installed each piece helps you anticipate failures and budget for replacements before an emergency forces a rushed purchase.
Summary and Key Takeaways
Effective water quality maintenance relies on routine, observation, and accurate testing. By following the six core steps—daily visual checks, weekly parameter testing, regular partial water changes, careful filter cleaning, temperature monitoring, and consistent record keeping—you create a stable environment where fish can thrive.
Remember that prevention is easier than correction. Small, consistent efforts prevent the dramatic swings and emergency interventions that stress both fish and fishkeeper. Test your water regularly, change water on schedule, avoid overfeeding, and keep simple records.
When problems do arise, use your decision checklist to respond methodically rather than panicking. Test first, act based on results, and retest to confirm your intervention worked. Over time, you will develop an intuition for your specific tank, but always verify that intuition with actual test results.
Water quality maintenance is a skill that improves with practice. Each week you follow this checklist, you become more confident in reading your tank’s signals and making sound decisions. Your fish depend on you to provide clean, stable water—this checklist gives you the tools to deliver it reliably.